Add a New Data Element (Browser)
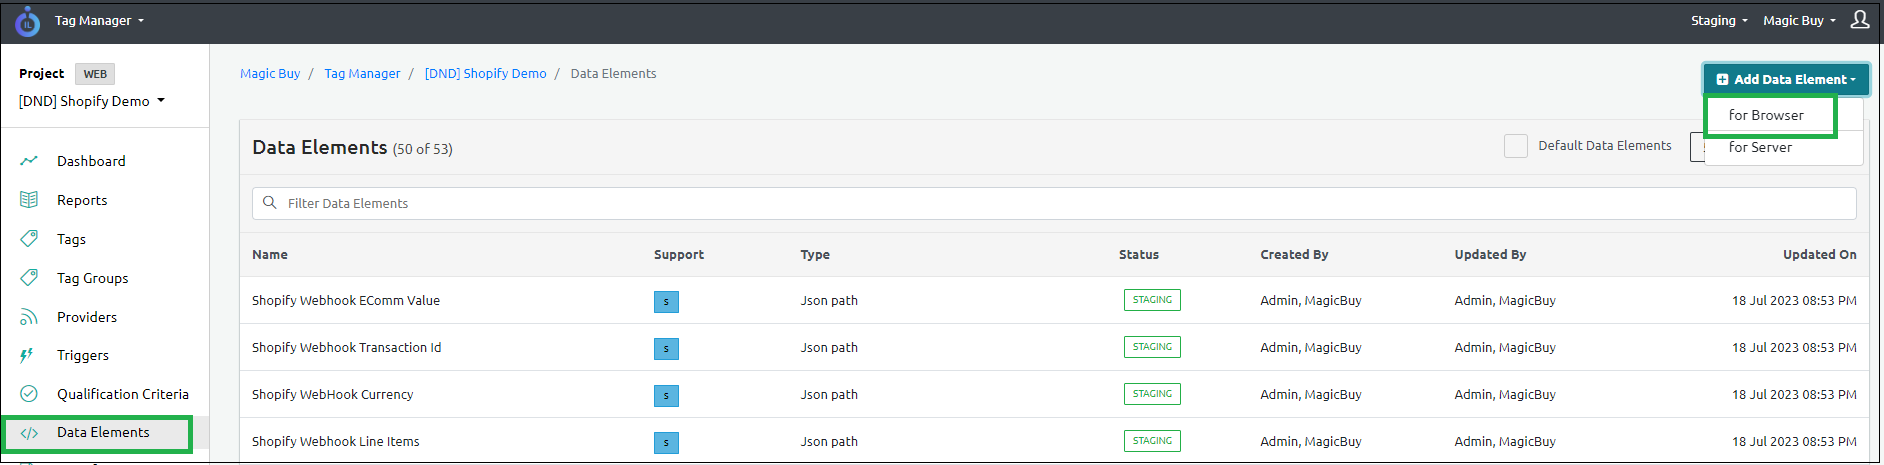
For Client-side or Browser-side configuration, all the information is fetched from the webpage or browser. Perform the following steps to create a Data elements for the browser:
- Click Add Data Element (For Browser) on the top right corner of the screen.
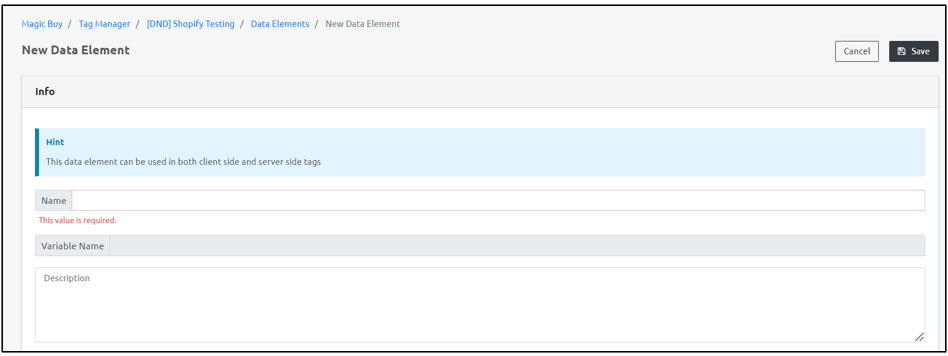
Enter the following details in the New Data Element screen that appears.
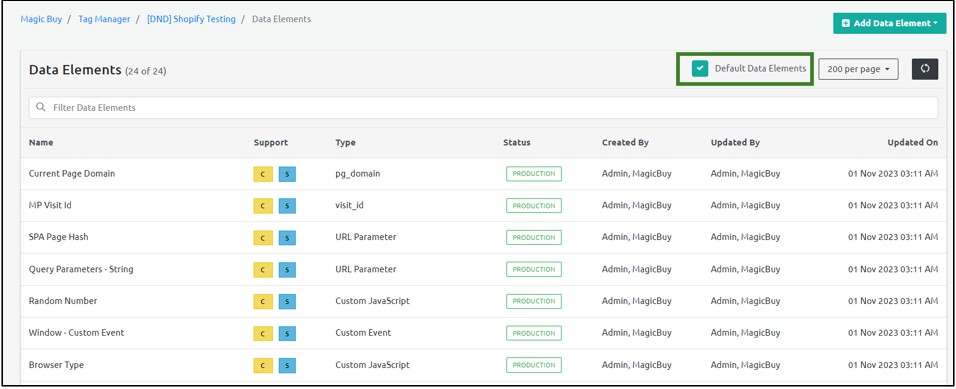
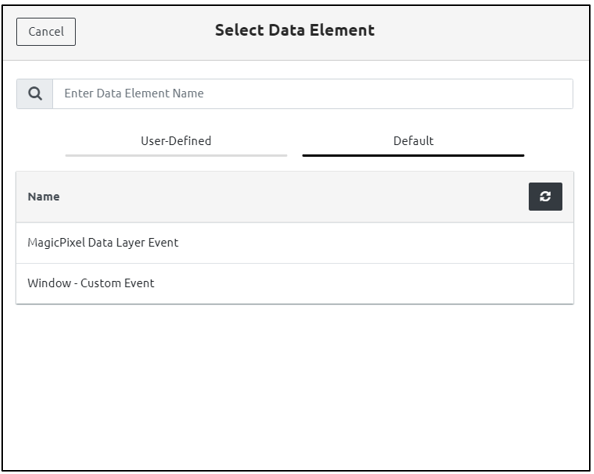
Select the Default Data Elements check box at the top to list the readily available default data elements. The specific default template will be used for the particular data elements.
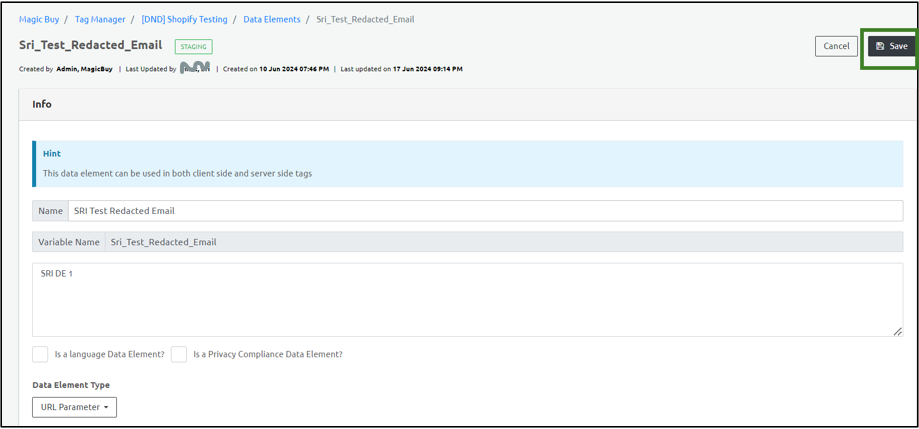
- Update the Info section on the top-left corner of the screen.
| Field Name | Description |
|---|---|
| Name | Denotes the default Data Element Name. |
| Variable Name | Denotes the variable name. Note: The Variable name is the same as the Data Element name. |
| Description | Enter the description of the Data Element. |
| Is a Language Data Element? | The language that must be essentially used in the particular website. There can be only one Language Data Element for a particular Data Element. |
| Is a Privacy Compliance Data Element? | Denotes if the user or customer has provided consent for data collection. There can be only one Privacy Compliance Data Element for a particular Data Element. |
| Choose Data Element Type | Denotes the data element type. • URL Parameter: Denotes the parameters that are fetched from the URL. • Launch Data Element: This is a reference to the Adobe Launch data element if the client's website has Adobe launch configured and the Adobe launch SDK downloaded on their website. • Custom JavaScript: Includes the Custom Java Script code that the user provides as input. The code must be included in the Custom Java Script section while adding the Data Elements. • Magic Pixel Data Layer: Includes the Data Layer that the Ingest Labs generates. You can specify the path in the Element Name that is a JSON object and provide values. |
- You can select either the default or custom (user-defined) template.
You must ensure to create the Data Elements in Ingest Labs and then proceed further with the tag updates. The following table depicts the different Data Element types for both Browser-side and Server-side tag elements.
| Data Element | Server | Browser |
|---|---|---|
| JSON Path | Yes | - |
| URL Parameter | Yes | Yes |
| Magic Pixel Data Layer Element | Yes | Yes |
| Custom Java Script | Yes | Yes |
| Server Header | Yes | - |
| Server Cookie | Yes | - |
| Magic Pixel Internal | Yes | Yes |
| Magic Pixel Event Timestamp | Yes | Yes |
| Magic Pixel Event Name | Yes | Yes |
| Magic Pixel Event ID | Yes | Yes |
| Magic Pixel Identity | Yes | Yes |
URL Parameter
- Enter the following fields in the URL section of the screen.
| Field Name | Description |
|---|---|
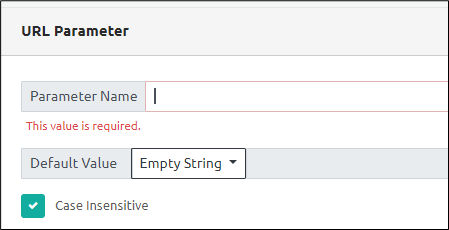
| Parameter Name | This is a mandatory field. Enter the parameter name. |
| Default value | Represents the Default Value of the parameter. • Empty String: Denotes that the data element is a string value. • Undefined: If the data element is not supposed to be used then select Undefined. • Null: Denotes the Null data type for the data element. • Custom Value: Denotes the static value for the Data Element. |
| Case-sensitive | Select the Case-sensitive check box to make the default parameter case-sensitive. Else, clear the check box. |
Launch Data Element
- Enter the following fields in the Launch Data section of the screen.

| Field Name | Description |
|---|---|
| Element Name | This is a mandatory field. Enter the data element name. |
| Default value | Represents the Default Value of the data element. • Empty String: Denotes that the data element is a string value. • Undefined: If the data element is not supposed to be used then select Undefined. • Null: Denotes the Null data type for the data element. • Custom Value: Denotes the static value for the Data Element. |
Magic Pixel Data Layer
- Enter the following fields in the Magic Pixel Data Layer section of the screen.
![]()
| Field Name | Description |
|---|---|
| Element Name | This is a mandatory field. Enter the element name of the Magic Pixel data layer. |
| Default value | Represents the Default Value of the element. • Empty String: Denotes that the data element is a string value. • Undefined: If the data element is not supposed to be used then select Undefined. • Null: Denotes the Null data type for the data element. • Custom Value: Denotes the static value for the Data Element. |
Transformation Function
- Enter the following fields in the Transformation Function section.
| Field Name | Description |
|---|---|
| Default Functions | • Clean: Clears and trims any white spaces on the trailing and leading strings after collecting the data value. • Lowercase: Denotes that the string needs to be in the lower-case. |
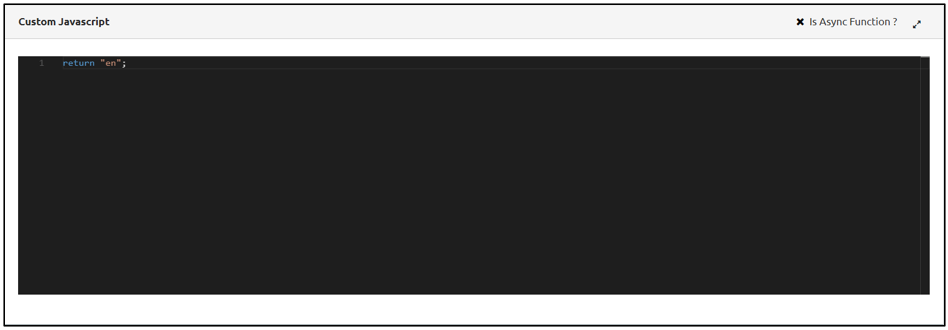
| Custom Function | Use Custom Function: For performing other transformations, you can write the code, retrieve or convert the value into a new value, and return the new value in the code using Custom function. |

- Select redaction for the data element. Basically, when you set up a data element as sensitive, and set up a strategy, the backend server will scramble it while using the data element in a tag or provider.

This data classification setting allows the serverside processing to apply a redaction strategy - like anonymize for email ID, IP address, phone number and so on.

- Click Save to save the changes.